
Nathan Friend
Remote Software Engineer at Stripe and cellist based out of Ontario. Previously at GitLab. Fascinated with building usable, delightful software.
Zoom light
May 31, 2024 | 6 minutes to read
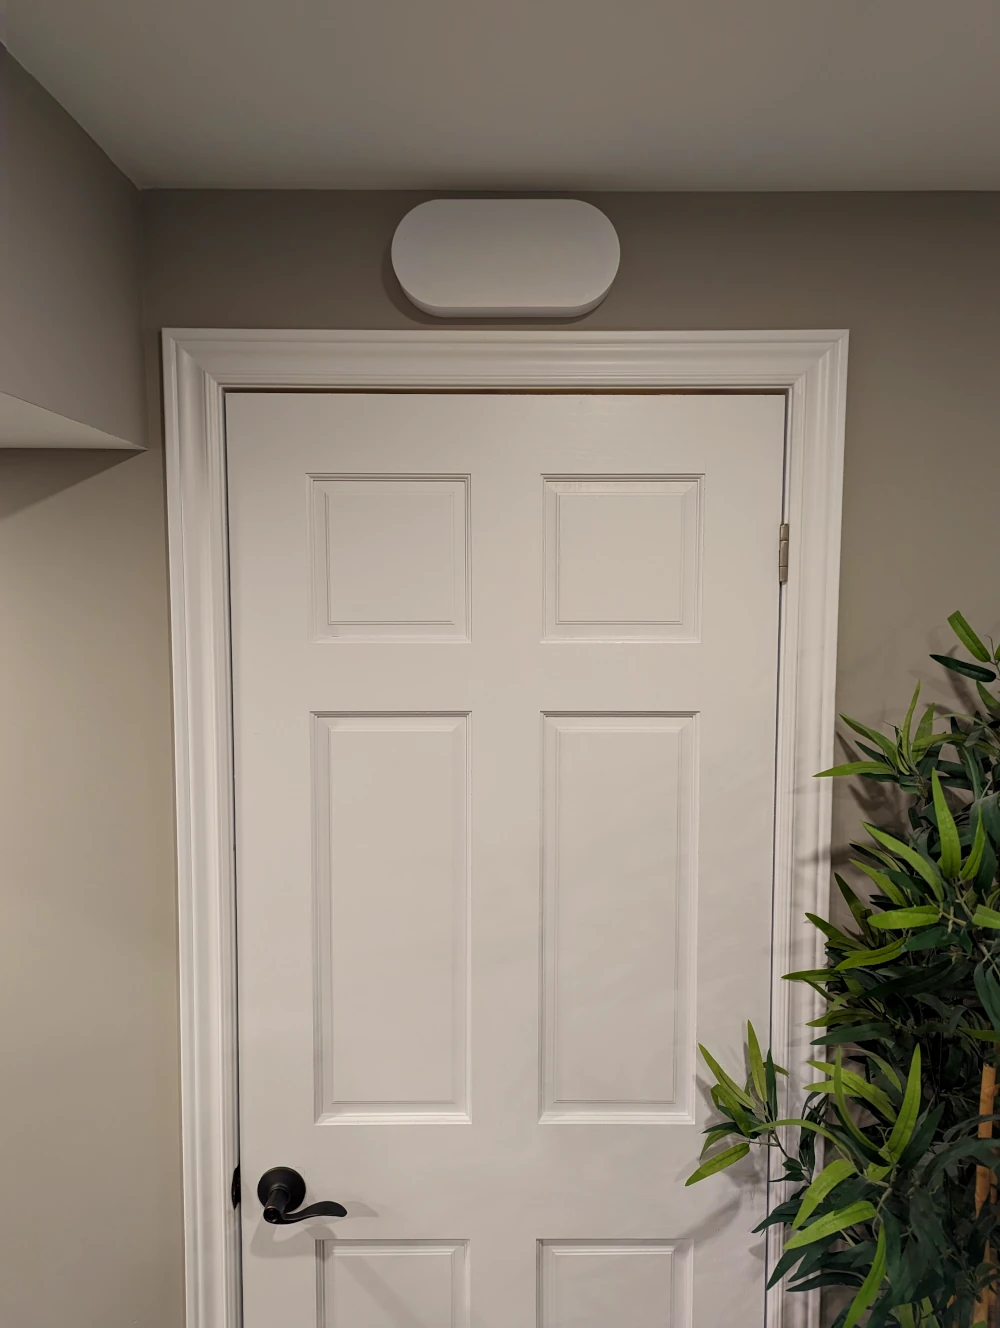
I built a light that glows when I’m on a Zoom call.
I recently had a blast building my own keyboard. As part of that project, I connected individually-addressable LED strips to the two microcontrollers inside each half. It was way easier than I expected and the end result was fantastic!
This new project was the perfect excuse to play around with these LED strips again. I wanted to engineer a way to allow my family to know I was on a Zoom call without having to open my office door. I had a vision of a nondescript, unobtrusive object that would only reveal its purpose when turned on.
I decided to build a light with a partially-transparent shade; the shade would be thick enough to obscure any pattern on its inside when dark, but would clearly reveal its inner pattern when lit.
How it works
On a technical level, here’s how it works:
- A script on my MacBook listens for Zoom calls to begin
- When it detects a Zoom call has started, the script makes a network request to
http://zoomlight/api/led/on - A web server running on a wireless Raspberry Pi Pico inside the light receives the request and turns on the LED strip
Build log
Step 1: Hello world
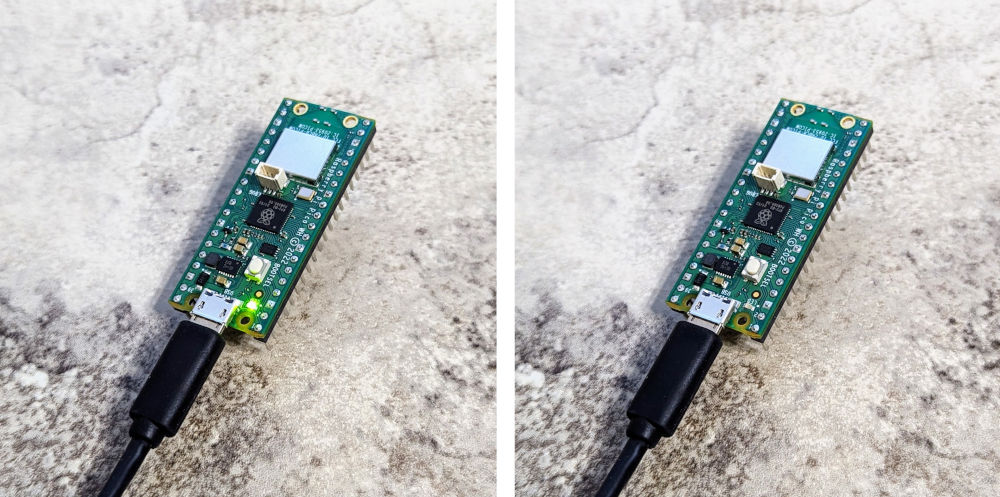
This was my first time working with a Raspberry Pi Pico, so my first task was to just get some code running. Before too long I was able to toggle the on-board LED on and off:
Step 2: Pico web server
Now that I had code compiling and running, I wanted to prove out the idea of running a web server on the wireless Pico.
At first, I hand-coded my own web server, which looked something like this and actually worked okay. But I then discovered microdot and threw away my fragile, bespoke implementation for this much more fully-featured library.
I could now toggle the on-board LED remotely!
Step 3: The SK6812s
I soldered some jumper cables to an SK6812 LED strip and connected it to the Pico. With some help from the neopixel library, I had a remotely-controllable LED strip!

Step 4: The prints
With the digital problems solved, I pivoted to the analog half of this project. I designed a case and shade in FreeCAD and 3D printed some prototypes using both PLA and PETG.
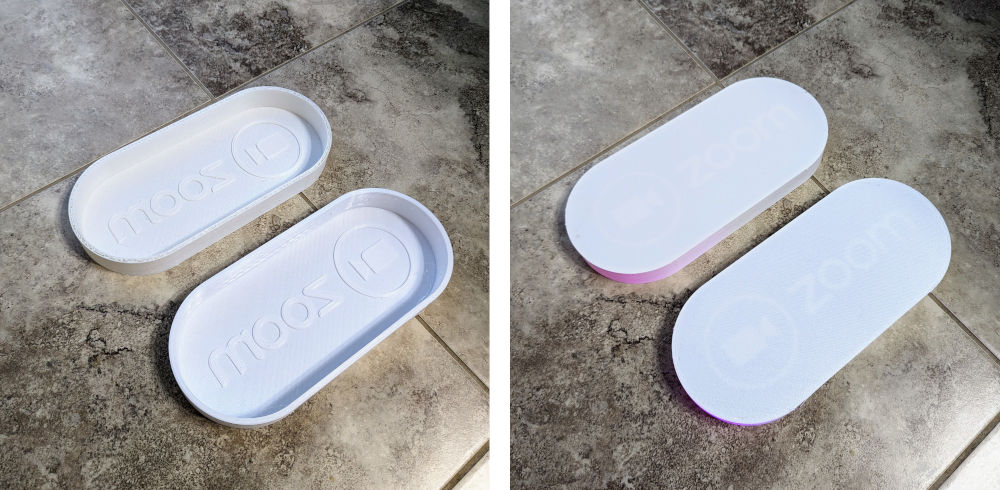
These first attempts were okay, but neither were perfect. Both had some printing deformities that were noticeable when backlit. In addition, the shade wasn’t quite deep enough to allow the light from the LED strip to diffuse, causing the center of the light to be noticeably brighter than the top and bottom edges.
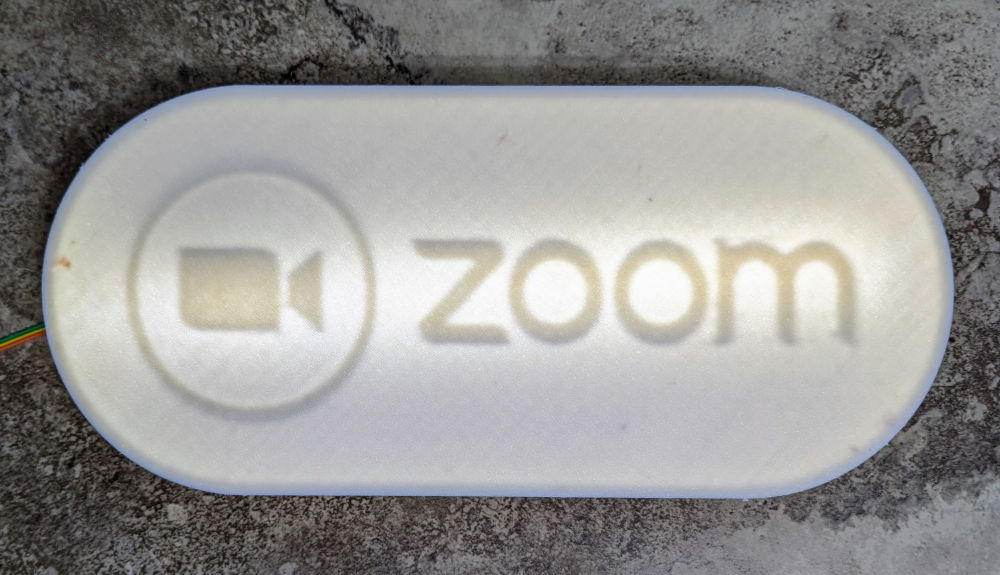
I increased the depth a bit and printed a new version of both the casing and the shade in PETG. I got lucky; both were some of the cleanest prints I’ve ever managed!
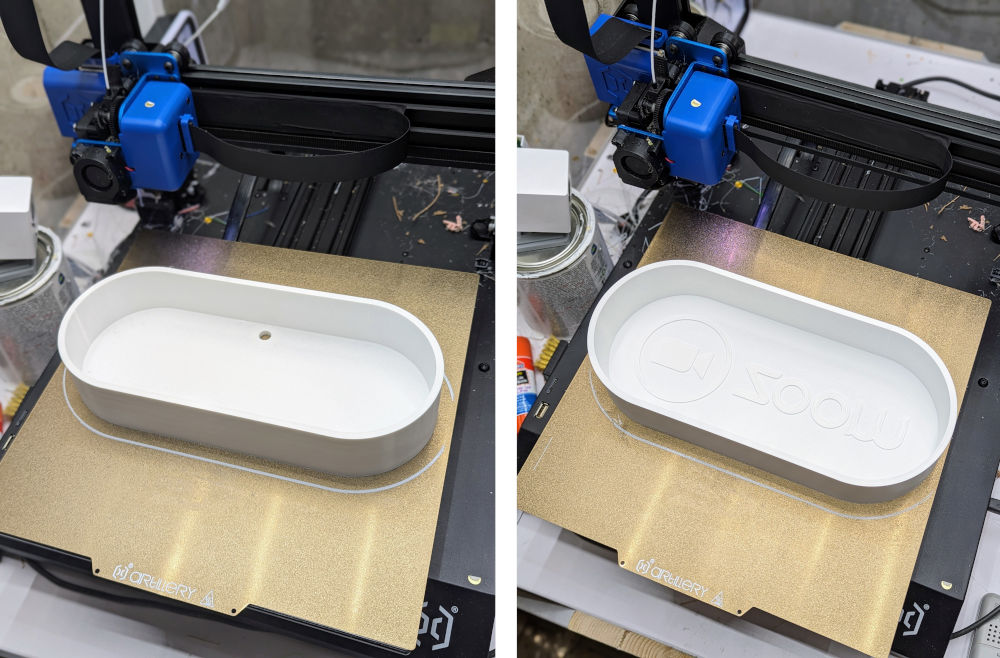
I usually struggle with PETG, but the 3D printing gods smiled on me that day. (Well, days. Each one took ~18 hours to print.)
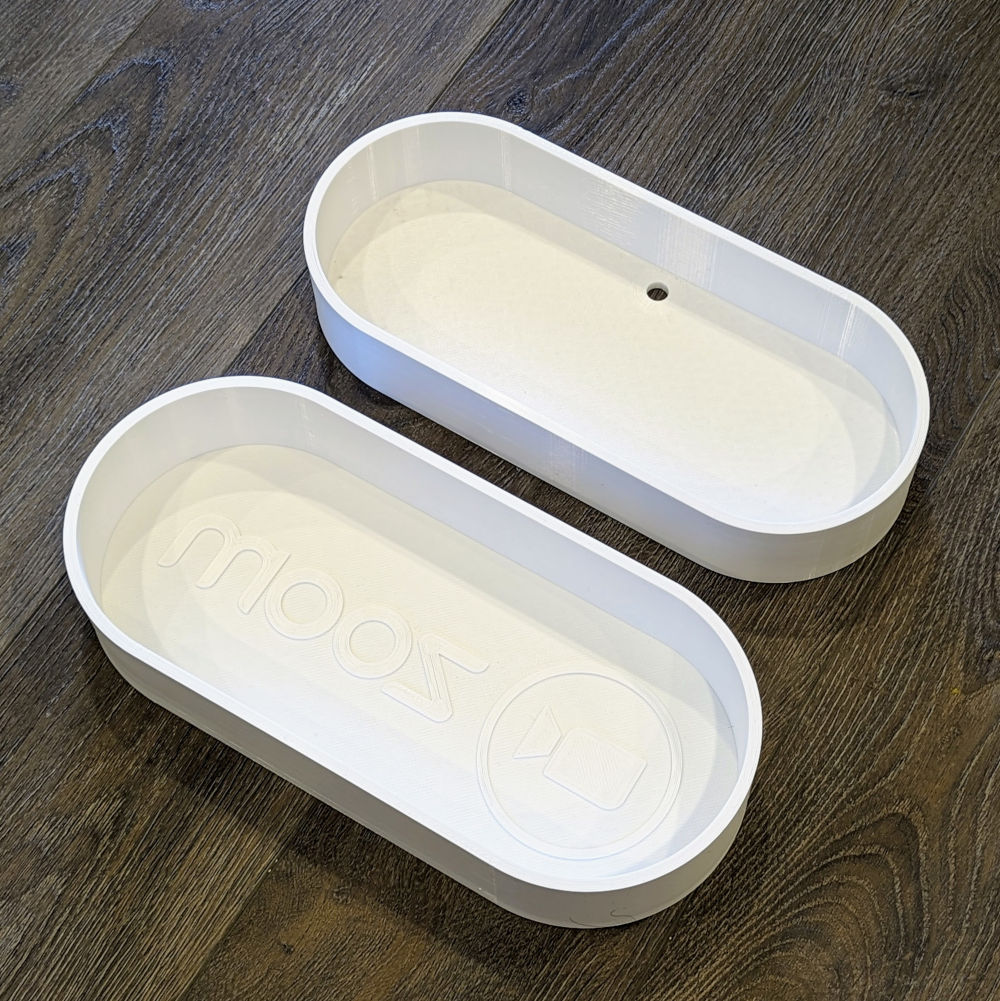
Step 5: Piecing it together
The end was in sight. I fixed the LED strip and Pico to the inside of the casing using some hot glue.
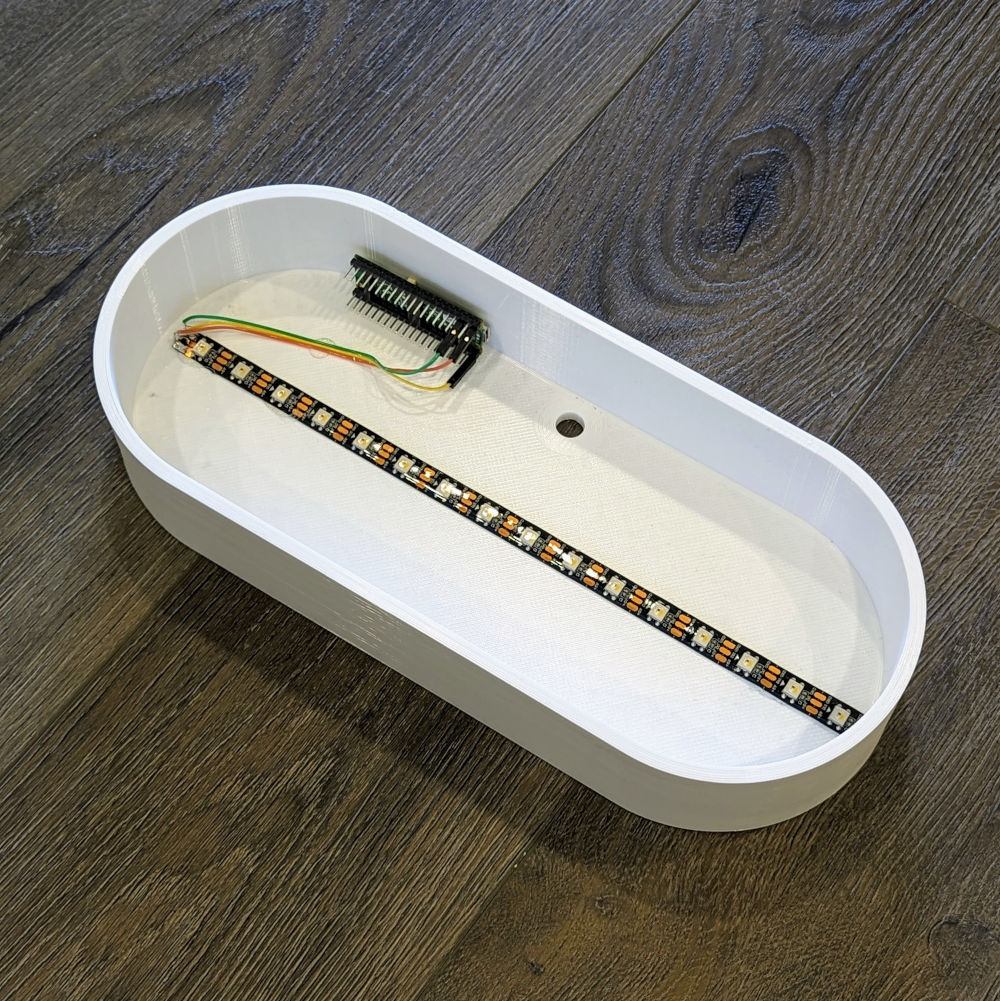
Step 6: Drilling holes
It was time to mount it. After some obsessive measuring, I drilled a hole all the way through the wall above my office door (for the power cord) and mounted the casing using command strips.

I popped on the shade and had a working light that I could manually trigger with curl!
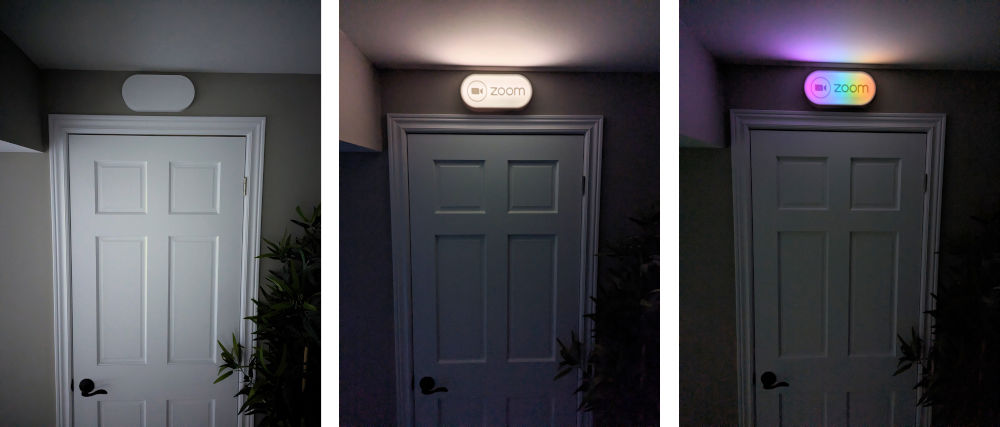
Step 7: Making it automatic
The final step was to automate the light so that it automatically turned on when I entered a Zoom call and turned off when I exited.
I experimented with a few different approaches and ultimately ended up using a rather unsatisfying method of polling every 5 seconds for the number of open Zoom ports:
#!/usr/bin/env bash

# How often to poll for Zoom status, in seconds
INTERVAL=5

# Function to execute the command and process its output
monitor_zoom() {
    current_state='unknown'

    while true; do
        # output will be an integer representing the number of open Zoom ports
        output=$(lsof -i 4UDP | grep zoom | awk 'END{print NR}')

        if [[ $output -gt 2 && $current_state != "on" ]]; then
            # In practice, when on a Zoom call, $output seems to always be 6

            current_state="on"
            echo "Turning light on"
            curl -X POST http://zoomlight/api/led/on
        elif [[ $output -le 2 && $current_state != "off" ]]; then
            # In practice, when not on a Zoom call, $output seems to always be 1

            current_state="off"
            echo "Turning light off"
            curl -X POST http://zoomlight/api/led/off
        fi

        sleep $INTERVAL
    done
}

echo "Watching for Zoom meetings in the background with PID: $$"

# Start the monitoring
monitor_zoom
(Does anyone know of a more elegant solution? I’d love to hear it!)
I set up this script to run every time my machine starts (like this).
Step 8: Adding a frontend
Since the Pico was already running a web server, I added a simple frontend that could be accessed through a web browser.
The website shows the current status of the light (via the color of the header block) and provides a way to manually control the color of the light.
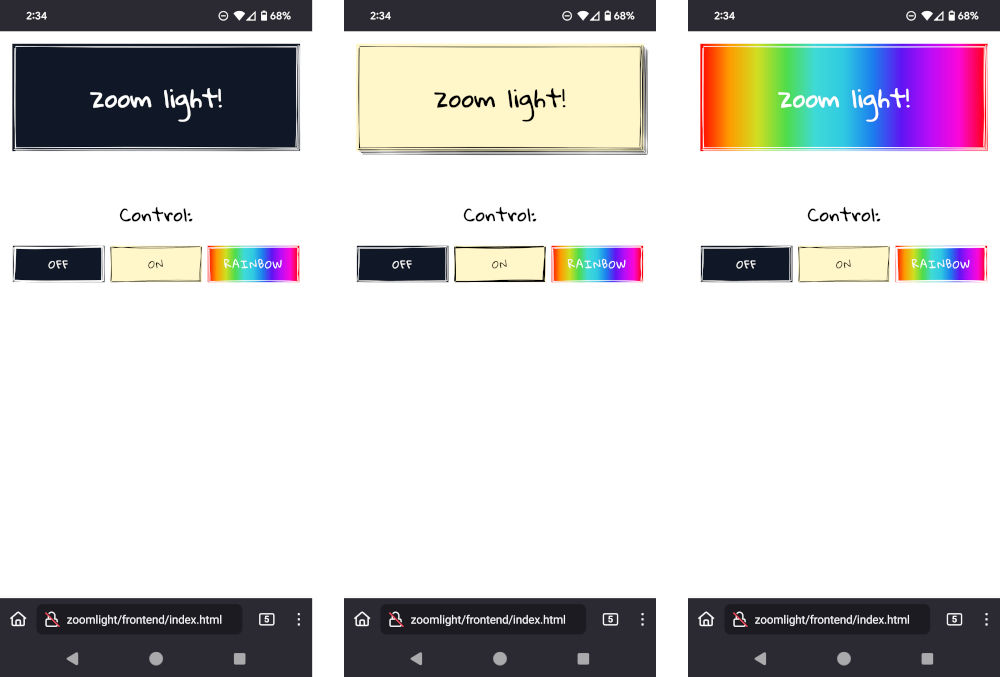
It uses my favorite component library, Wired Elements.
Final thoughts
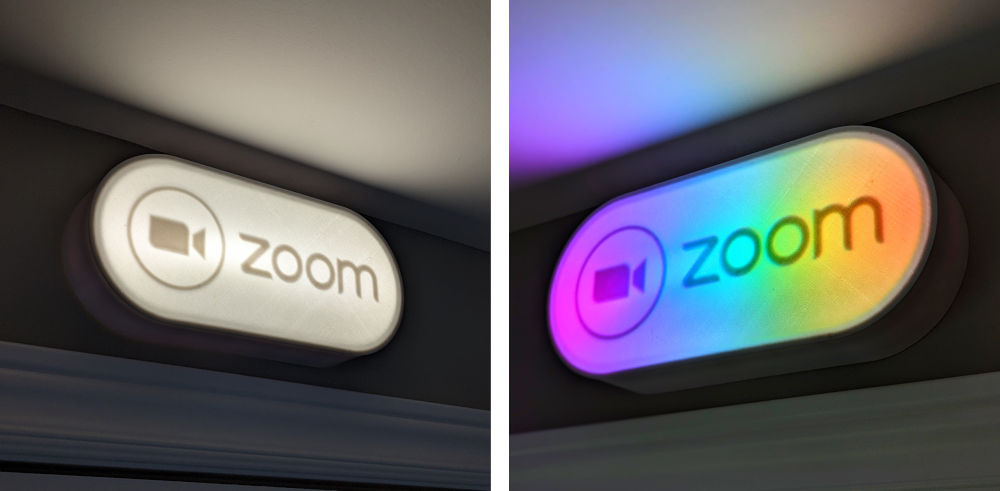
Overall, I’m very happy with how this turned out. The light looks great and turns on and off exactly when it is supposed to!
Links/resources
- All source files on GitLab: https://gitlab.com/nfriend/zoom-light
- 3D models on Thingiverse: https://www.thingiverse.com/thing:6644694
microdot, the Python web server library I use on the Pico: https://github.com/miguelgrinberg/microdotneopixel, the library that interfaces with the LED strip on the Pico: https://github.com/blaz-r/pi_pico_neopixel
Other posts you may enjoy:
Useful things I've 3D printed
November 25, 2024 | 11 minutes to read
GitLab Pages with multiple domains
October 14, 2024 | 3 minutes to read
I built a weird keyboard
June 26, 2023 | 13 minutes to read
Wordle Bot
January 25, 2022 | 7 minutes to read
Herding Gits
August 26, 2021 | 2 minutes to read